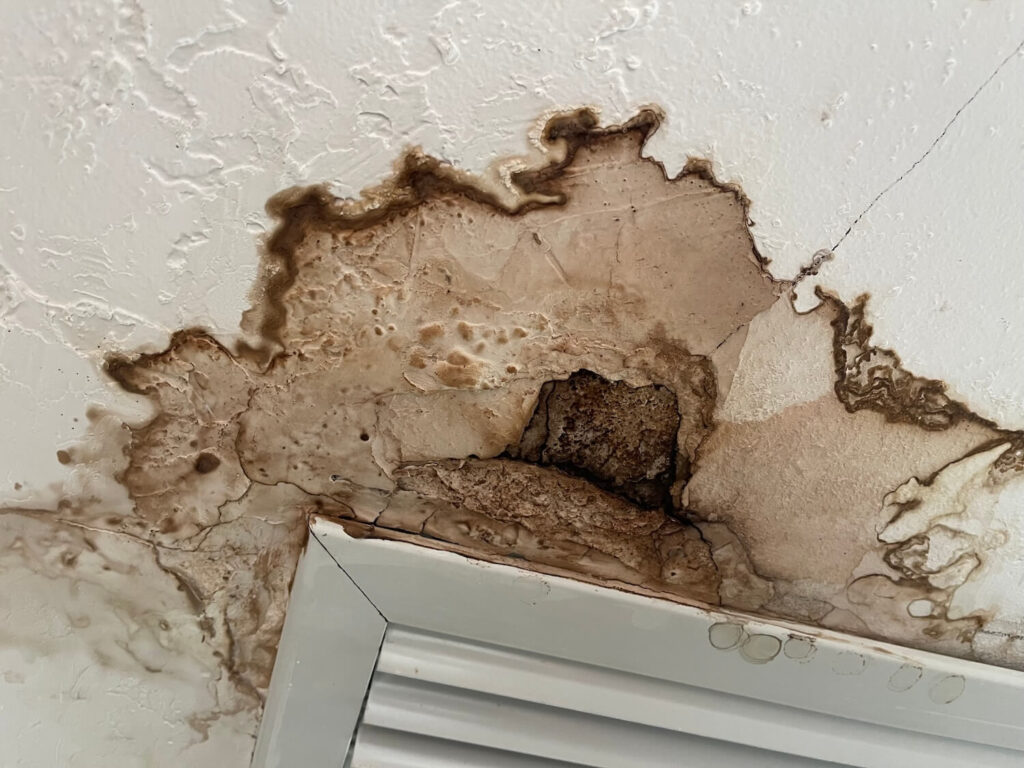
A roof leak rarely announces itself at a convenient time. It shows up as a brown ring on the ceiling after a storm, a drip in the hallway, or a damp spot on the drywall that was not there yesterday. What you do in the next 24 hours has a lot to do with how much of your home you end up repairing.
In Clearwater, the clock runs faster than it does in drier parts of the country. Our humidity keeps building materials from drying on their own, which means water that soaks into insulation, drywall, and framing tends to stay there. Here is a practical order of operations for the first day after a roof leak, along with the points where calling for help makes more sense than handling it yourself.
Why the First 24 Hours After a Leak Matter So Much in Florida
Water intrusion of any kind can create mold risk within 48 to 72 hours. That window is not a scare tactic; it is simply how quickly damp organic material like drywall paper, wood framing, and insulation can begin supporting mold growth when the surrounding air is warm and humid.
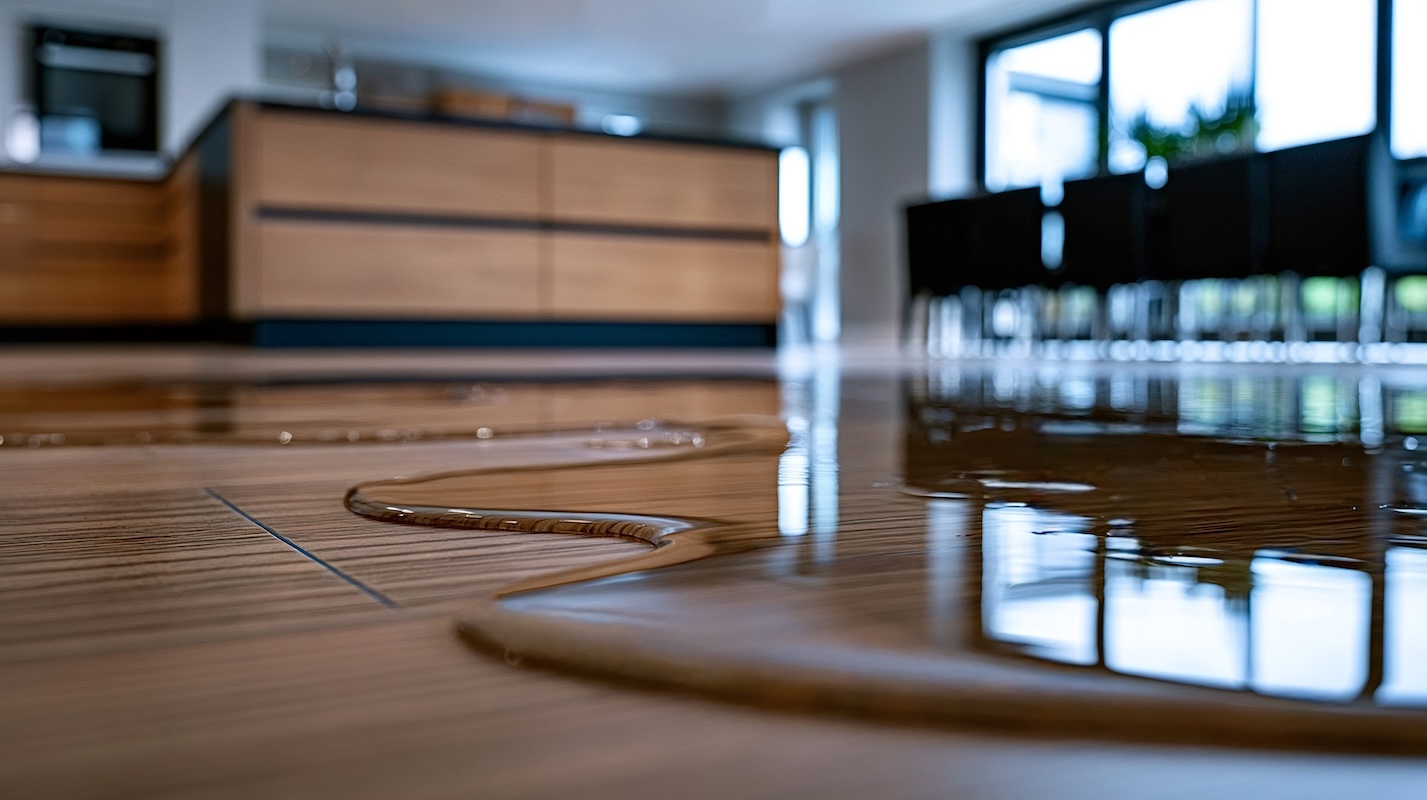
The trouble with a roof leak is that most of the water never reaches the floor. It travels along rafters, soaks into attic insulation, wicks up wall cavities, and pools on top of the ceiling drywall. By the time you see a stain, the wet area above it is usually larger than what is visible. A towel under the drip solves the symptom you can see and leaves the part that matters untouched.
Hour One: Make the Area Safe and Contain the Water
Start with safety rather than cleanup.
- Turn off power to any room where water is near light fixtures, ceiling fans, or outlets. Water pooling above a recessed light is a real hazard.
- Move furniture, rugs, electronics, and anything paper-based out of the affected room.
- Put a bucket or bin under active drips and lay plastic sheeting or a tarp over what you cannot move.
- If you see a ceiling bulging or sagging, keep everyone out from under it. That bulge is holding water, and it can give way without warning.
If the drip is coming through a single point in a swollen ceiling, some homeowners are told to relieve the pressure with a small puncture so the water drains in a controlled spot. That is a judgment call. If you are not comfortable doing it, do not, and keep the area clear instead.
Hour Two, Document Everything Before You Touch It
Good documentation can make an insurance claim much easier to support. Before you start drying or throwing anything out, take photos and videos of the ceiling, the walls, the flooring, the attic if you can access it safely, and every damaged item. Capture wide shots that show the room and close shots that show the detail.
Write down the date and time you first noticed the leak and what the weather was doing. Save receipts for anything you buy in response, including tarps, fans, and a dehumidifier. Then call your insurance carrier and open the claim. Ask specifically what your policy covers for emergency water mitigation, since most policies expect you to take reasonable steps to prevent further damage.
We work directly with homeowner insurance claims and provide clear documentation, written estimates, and communication with your adjuster, so you are not translating between two parties on your own.
Hours Three to Six: Remove Standing Water and Move Air
Once the area is documented, get the water out.
- Use a wet vacuum on carpet and hard flooring. A household vacuum is not built for this and can be dangerous.
- Blot, do not rub, wet carpet and upholstery.
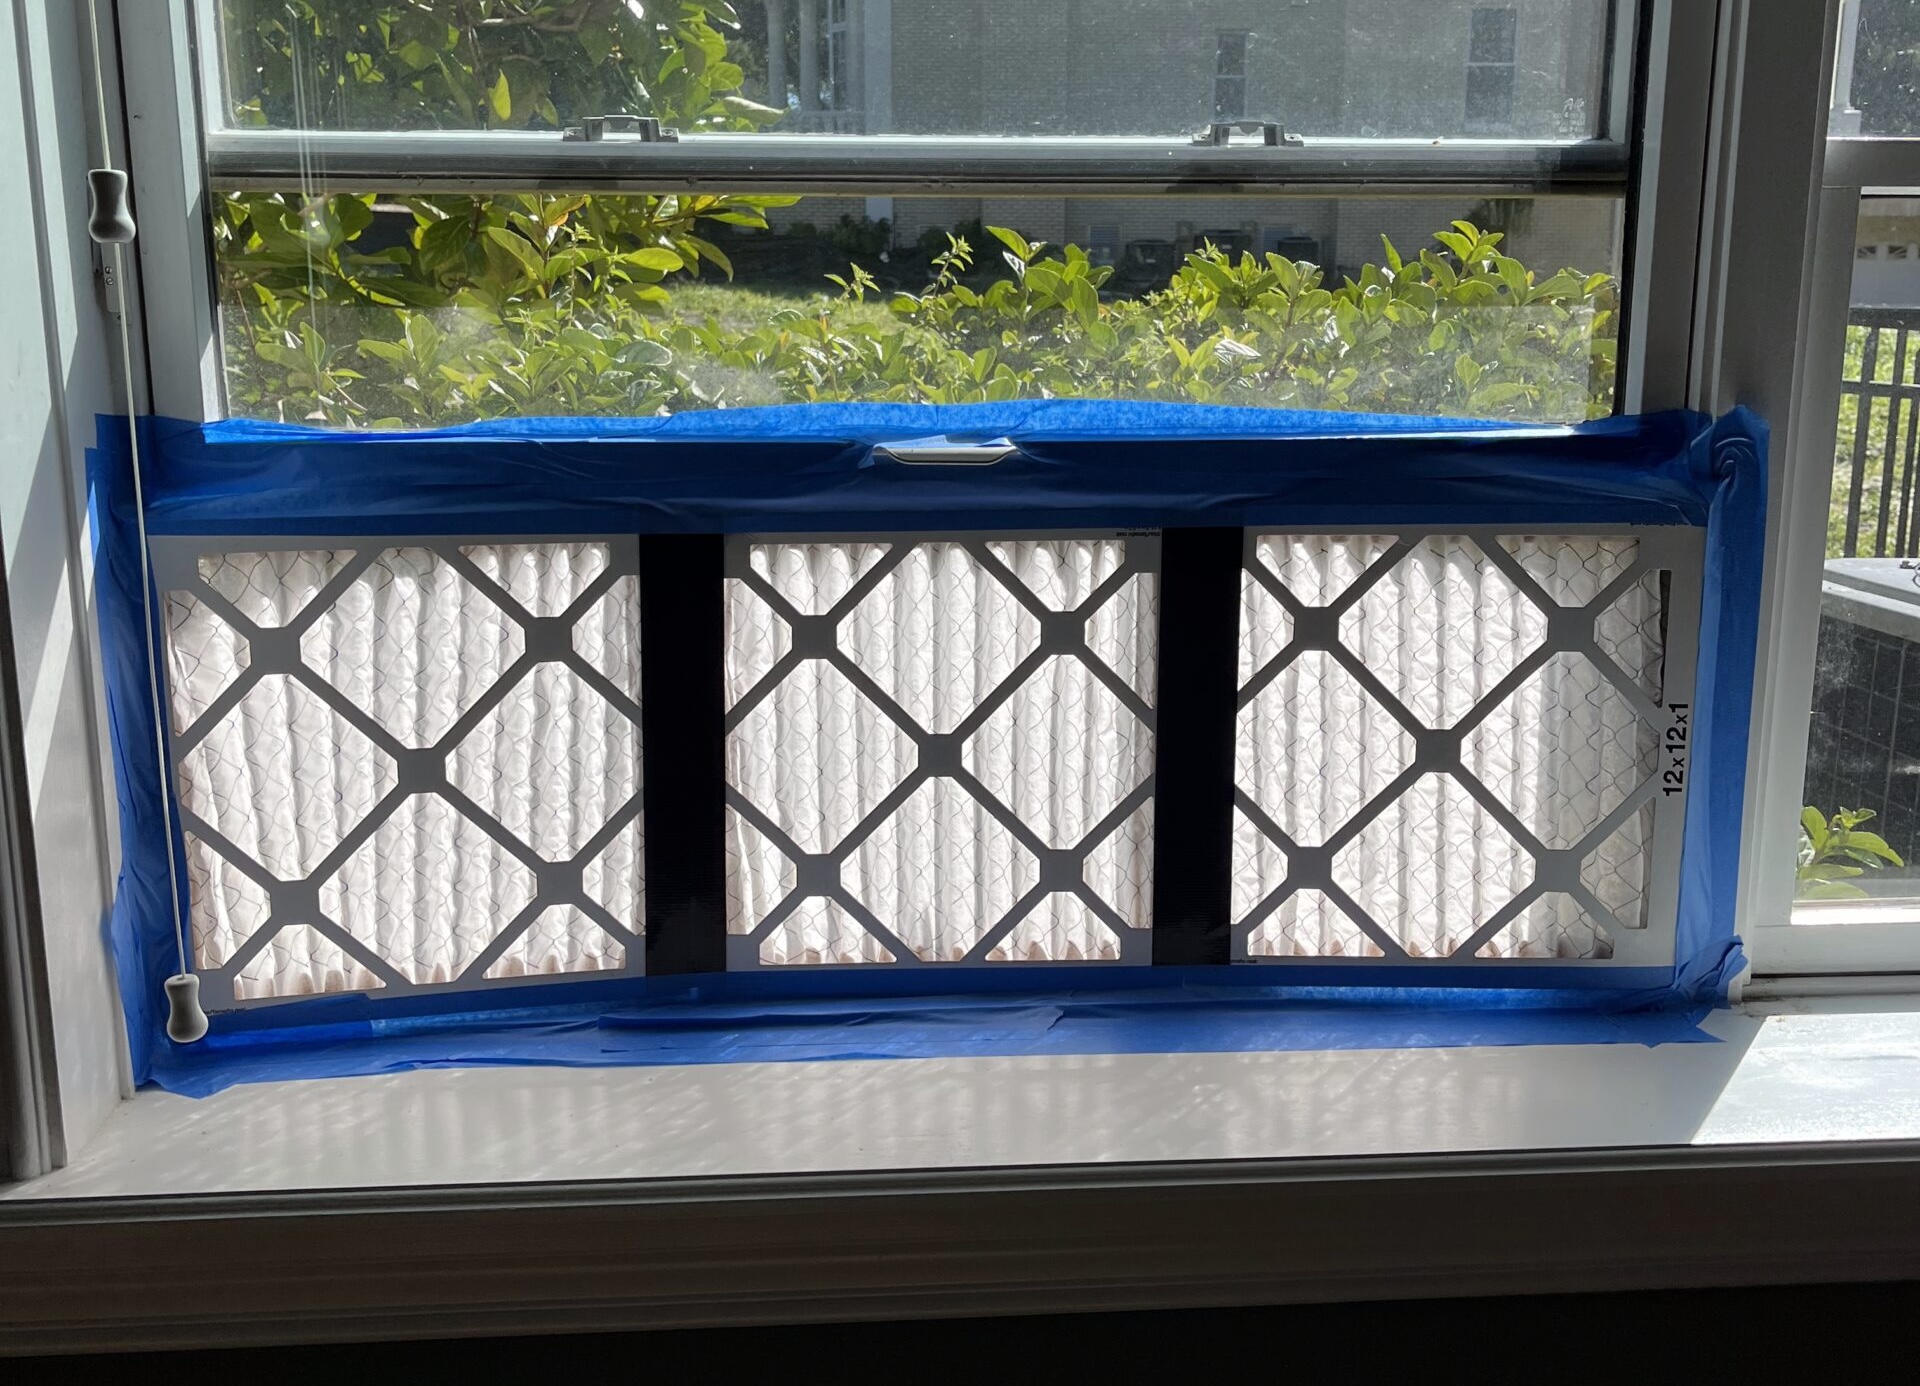
- Run fans and a dehumidifier if you have them, and close windows rather than opening them. When outdoor humidity is high, opening the windows can add moisture rather than help the structure dry.
- Pull up saturated area rugs so the subfloor underneath can begin to dry.
Understand what this does and does not accomplish. Household fans dry surfaces. They do not pull moisture out of wall cavities, attic insulation, or the underside of a subfloor, which is where water from a roof leak tends to collect.
Hours Six to Twelve: Get the Hidden Moisture Assessed
This is where finding and drying hidden moisture becomes especially important. A ceiling can look dry to the touch while the insulation above it is still holding water.
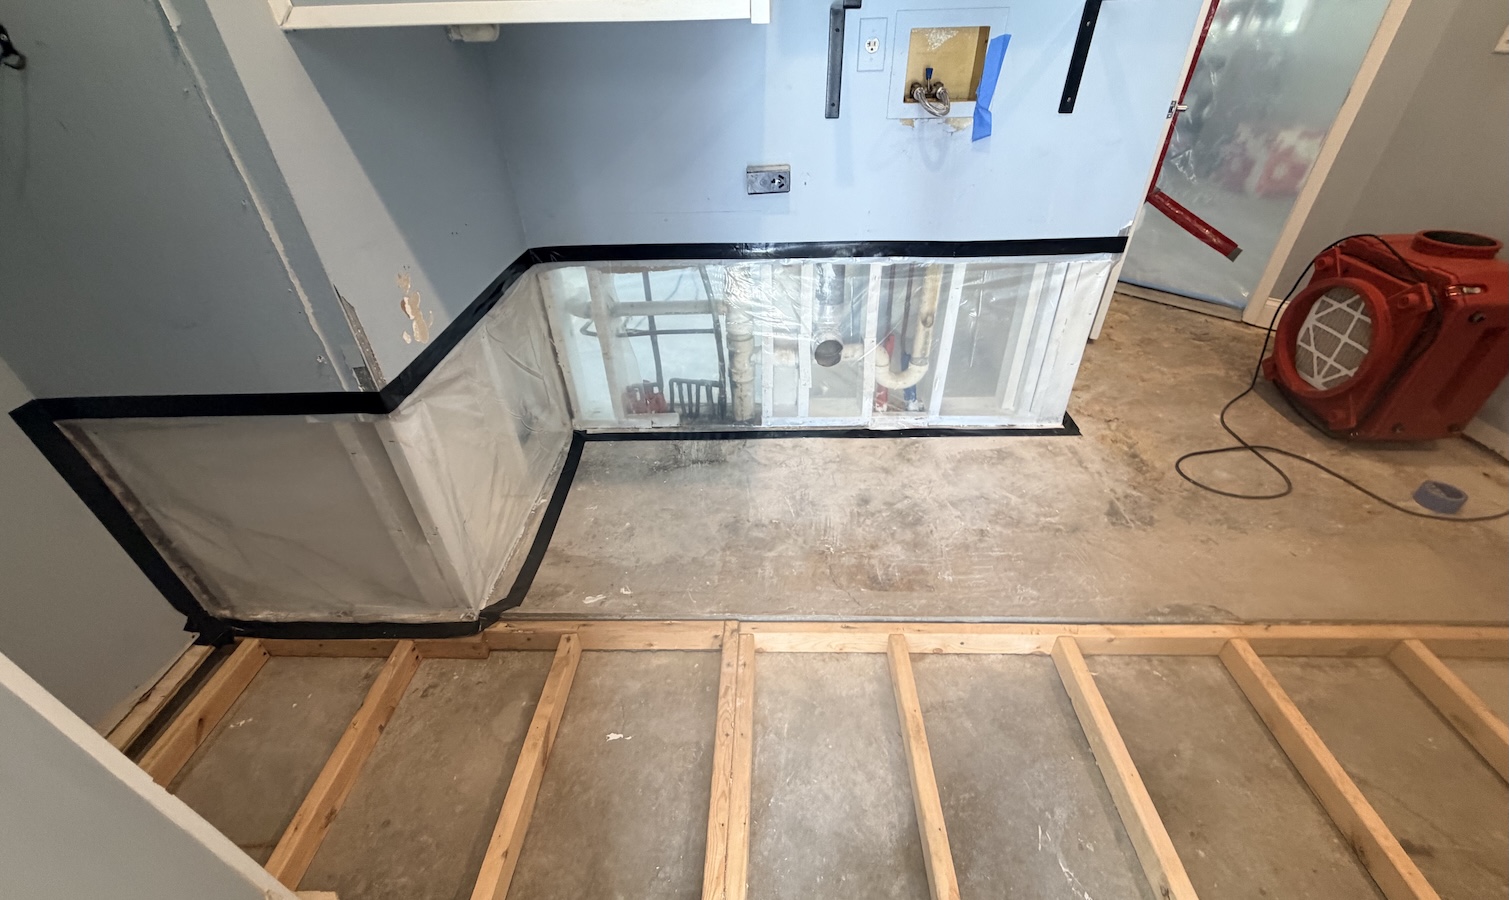
Our emergency water dry-out service covers exactly this situation. We locate the full extent of the moisture, extract what remains, and set industrial air movers and dehumidifiers to dry the structure itself rather than just the surface. For roof leaks specifically, that usually means wet insulation above the ceiling, damp drywall, and attic framing that has taken on moisture. Our emergency line is available 24 hours a day.
You will also need a roofer. We handle the water and the materials inside the home, and the roof repair itself is separate work. The source of the leak and the interior water damage should be addressed at the same time whenever possible.
Hour Twelve to Twenty Four: Watch for What the Water Left Behind
Over the rest of the first day, keep an eye out for signs the water traveled further than you thought:
- Musty or damp odor that does not clear when the room airs out
- Paint bubbling, drywall tape lifting, or trim separating from the wall
- Ceiling stains that keep expanding after the leak has stopped
- Flooring that cups, buckles, or feels soft underfoot
- Condensation on windows in the affected room
Any of these means moisture is still present in the structure. Document them with photos and add them to your claim file.
What Not to Do After a Roof Leak
A few common reactions make the situation worse.
- Do not paint or seal over a water stain. It hides the evidence and does nothing to the moisture behind it.
- Do not spray bleach on discoloration. It may lighten the surface without addressing the material underneath or the moisture that caused it.
- Do not replace drywall or insulation before the cavity is confirmed dry. Sealing wet material behind new drywall is one of the more expensive mistakes we get called out to correct.
- Do not wait for the next rain to see if it happens again.
When a Roof Leak Becomes a Mold Concern
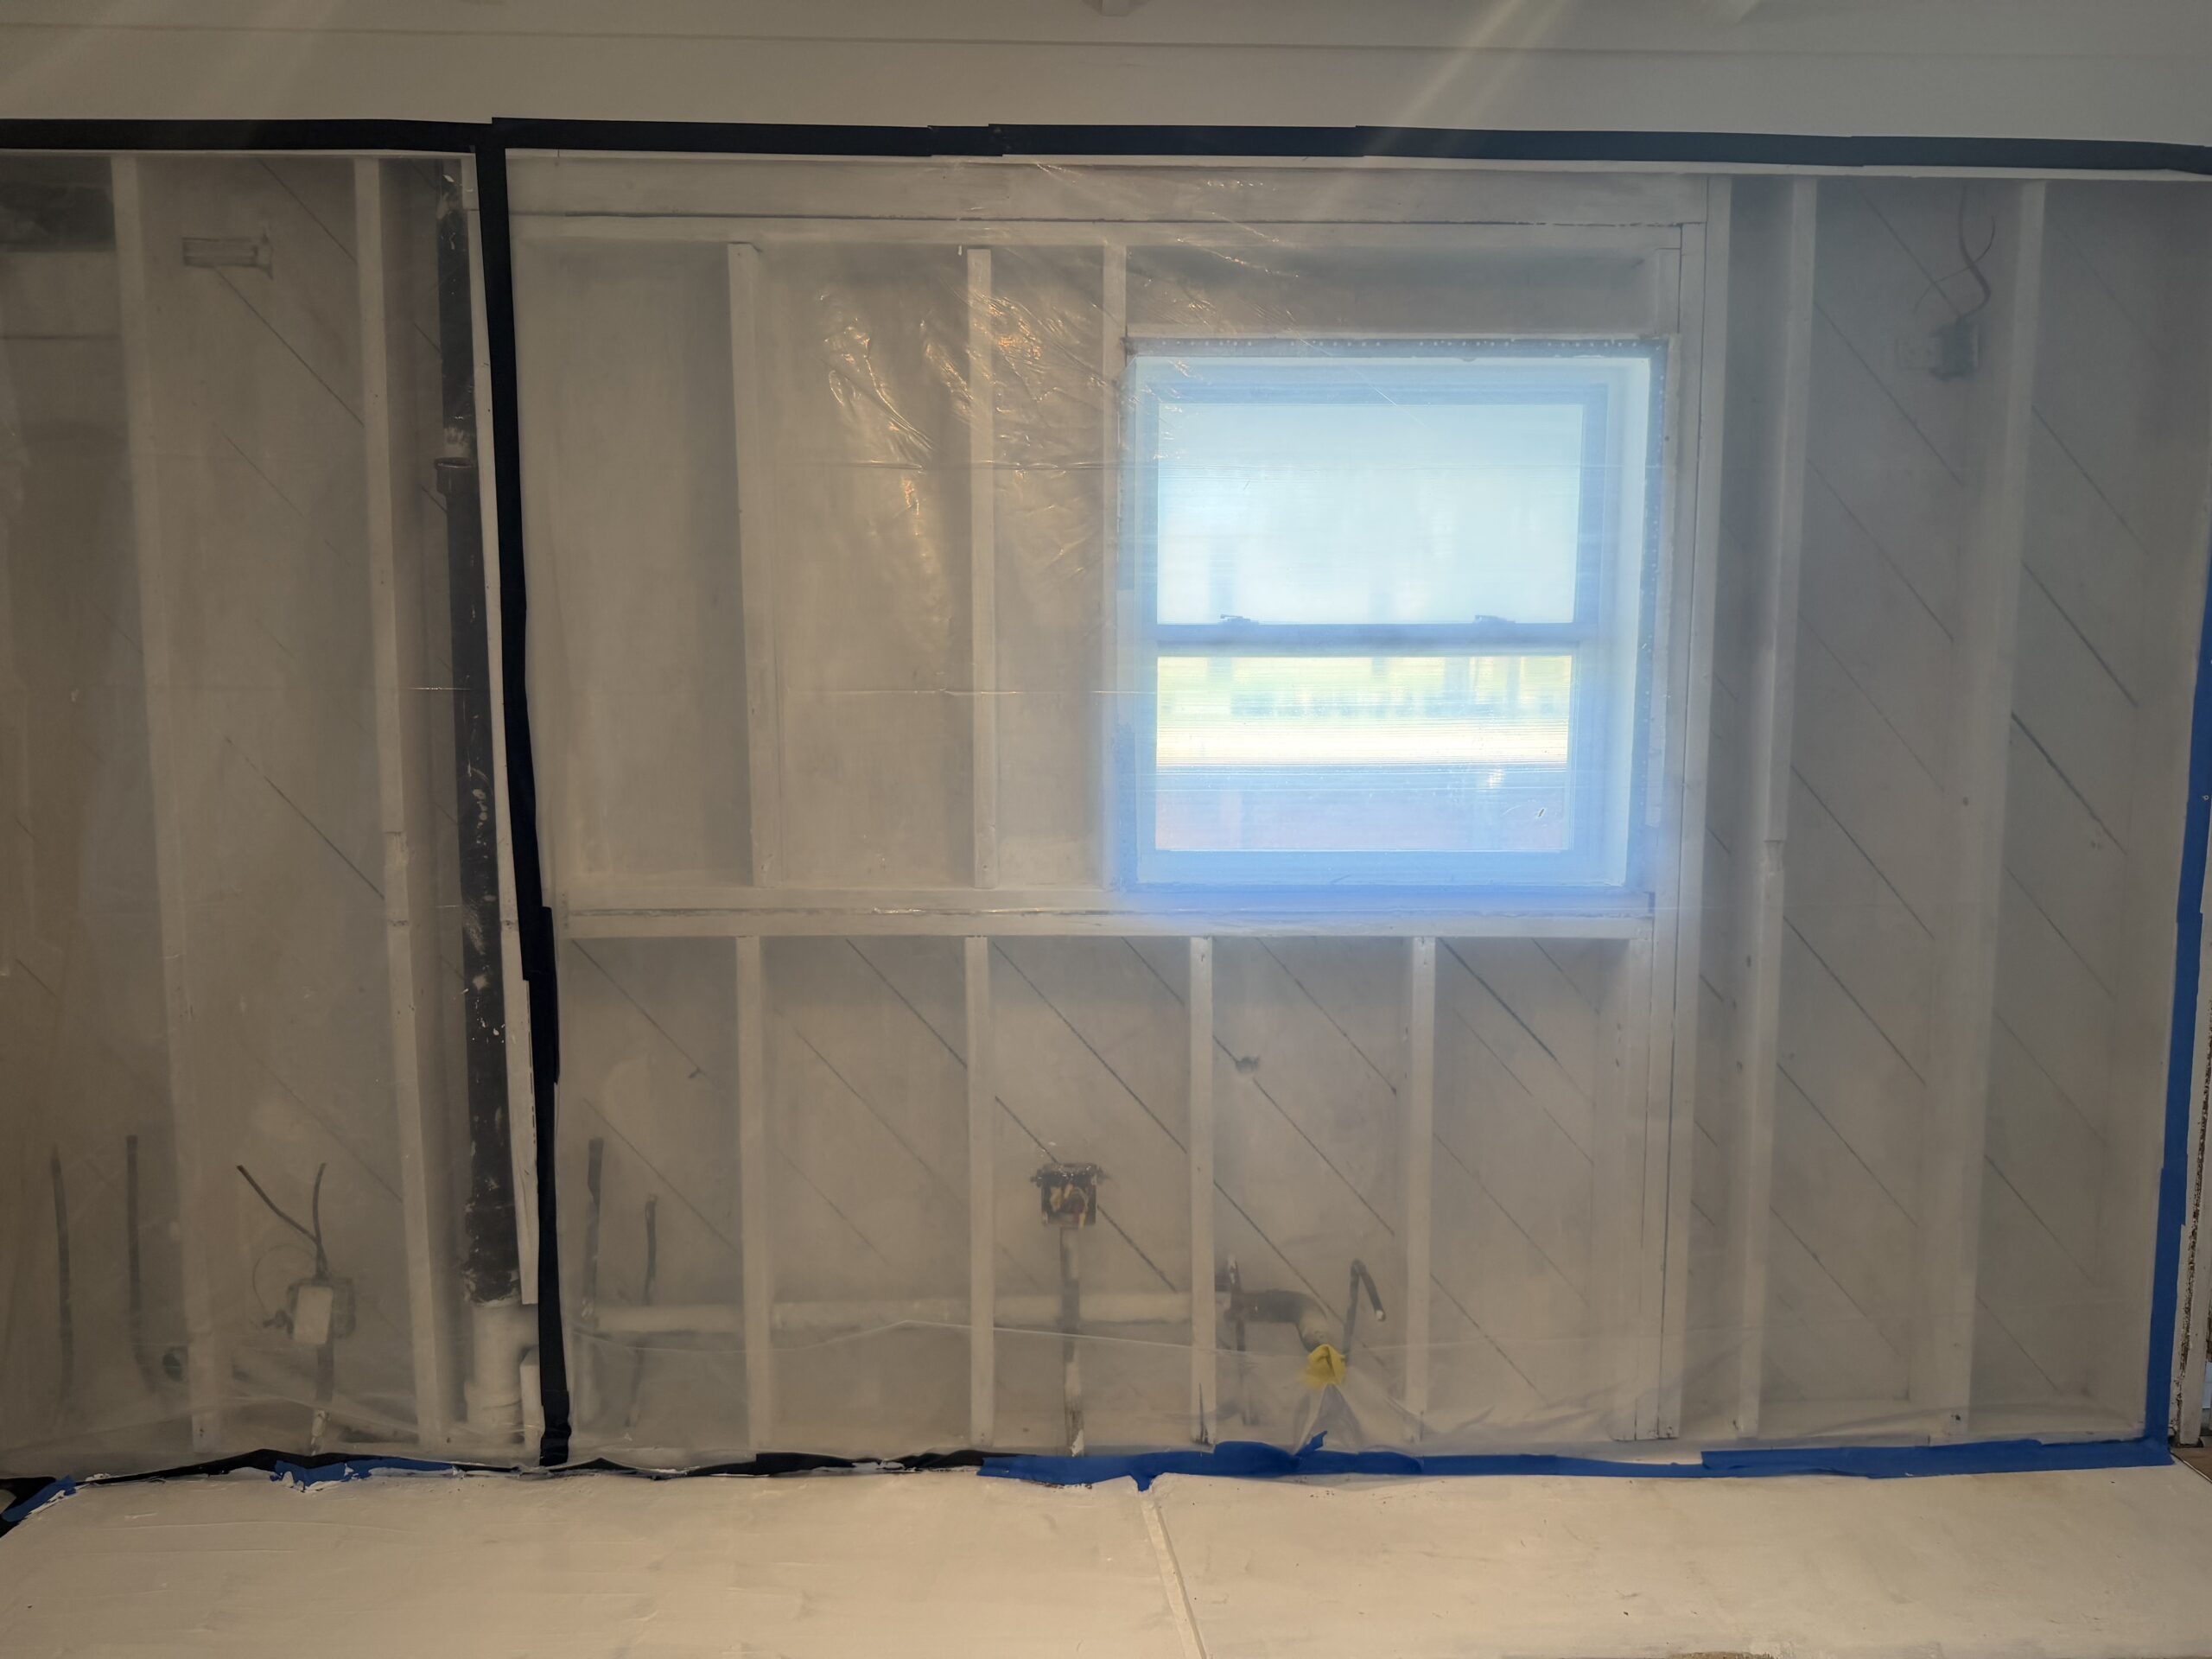
If several days have passed since the leak, or you notice a musty odor, the risk of mold growth increases and drying alone may no longer be enough. An inspection can determine whether affected materials can still be dried or whether removal and remediation are needed. . Our mold remediation work follows NORMI-certified processes for containment and removal, including attic and crawl space mold removal, which is where roof leak damage usually concentrates.
A professional mold inspection covers a visual assessment of the areas of concern, metered humidity readings, identification of the moisture source, and a written estimate with guaranteed pricing before any work begins. If your situation calls for laboratory analysis or a formal clearance document, we will point you toward an independent third party mold assessor, since that is separate work performed by a separate party.
If the inspection indicates that mold or contamination has affected the HVAC system, air or duct treatment may also be recommended. When repairs are needed, we coordinate with licensed contractor partners for drywall and flooring replacement so you are not managing several companies at once.
Talk to Blackwater Mold Pros Before the Damage Spreads
We are a family-owned company based in Clearwater, licensed under #MRSR4642, insured, NORMI certified #40184, and IICRC certified, with 15-plus years of experience in Tampa Bay homes.
If you have had a roof leak in the last few days, call (727) 314-3518 or schedule a free inspection. You will get a straight answer about what is wet, what needs to come out, and what it will cost, in writing, before anything begins.
Frequently Asked Questions
How quickly can mold start after a roof leak in Clearwater?
Water intrusion can create mold risk within roughly 48 to 72 hours. Florida’s humidity works against natural drying, so materials that would air out in a drier climate tend to stay damp here. The practical takeaway is that the first two days are when drying makes the most significant difference. After that, it becomes increasingly important to determine whether materials can still be dried successfully or whether some need to be removed and remediated.
Will my homeowners insurance cover water damage from a roof leak?
It depends on the cause and on your specific policy. Sudden damage, such as a storm tearing shingles loose, is treated differently from damage attributed to long-term wear or deferred maintenance. Photograph everything before cleanup, open the claim promptly, and keep receipts for emergency steps you take. We provide documentation, moisture records, and written estimates that your adjuster can work from, and we communicate with them directly when that helps move the claim along.
Can I just dry the ceiling myself with fans?
Fans dry surfaces, which is useful but limited. Roof leak water usually sits in attic insulation, inside wall cavities, and on top of ceiling drywall where airflow never reaches. A ceiling can feel dry while the space above it is still saturated. Professional structural drying uses moisture readings to find the full affected area and industrial equipment to dry the materials themselves, which is what prevents the problem from resurfacing weeks later.
Do I need a roofer or a restoration company first?
You need both, ideally the same day. The roofer stops water from entering. We handle the water already inside the home, including extraction, structural drying, and any remediation the materials require. Drying a home while water is still coming in does not work, and repairing a roof over saturated insulation leaves the interior problem in place. Calling both at once is the most effective approach
What if I found the leak weeks ago and only now see staining?
That is common, and it does not mean you missed your chance. It does mean drying alone is unlikely to be enough, since materials that stayed damp that long may need removal. Start with an inspection so the extent is documented, then address the affected materials and the moisture source together. Call (727) 314-3518 and we will assess what is there before quoting any work.